


Table of Contents
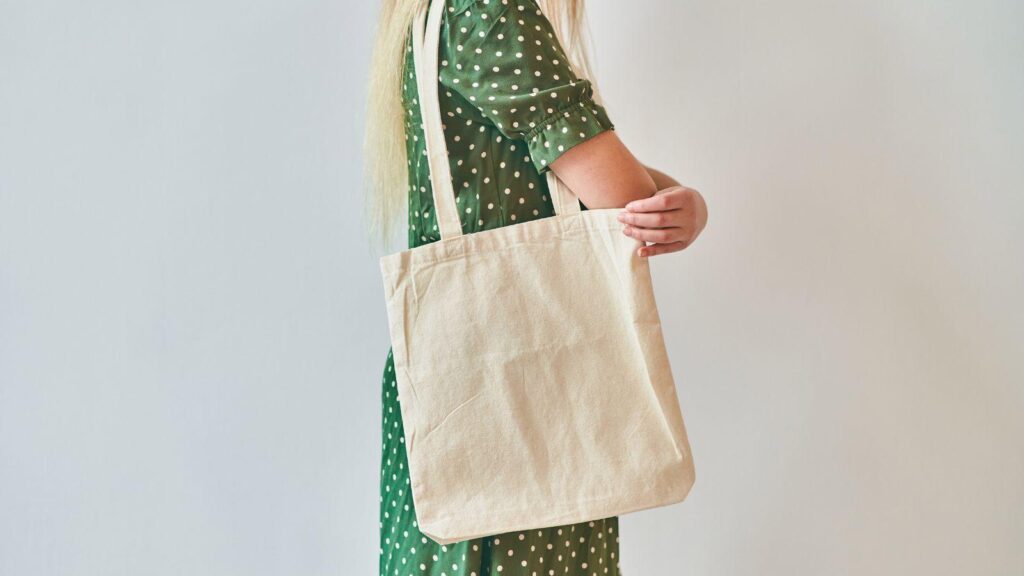
ToggleCustom tote bags continue to serve practical and promotional purposes in 2026. They function as event merchandise, branded giveaways, retail products, and personal gifts. The difference between a casual design and a professionally finished tote often comes down to layout structure, print setup, and production planning.
For many creators and small businesses, the challenge is not creativity but execution. Artwork must be aligned properly, exported correctly, and prepared according to printing specifications. Even minor setup issues can result in blurred graphics or unexpected color shifts.
Custom tote bags design tools simplify this process by offering structured templates, preset dimensions, and controlled export options. These platforms reduce the guesswork involved in preparing files for fabric printing.
Adobe Express is one accessible example, offering ready-sized tote layouts and print-oriented templates that help users begin within defined parameters instead of building files from scratch.
Step-by-step how-to guide for using Custom Tote Bags Design Tool
Step 1: Start With a Print-Sized Template
Goal
Establish correct dimensions and layout structure before designing.
How to do it
- Select a tote bag template sized for your intended print area.
- Confirm fabric print dimensions (for example, 12×14 inches or similar).
- Set orientation and margins before placing artwork.
- Keep important elements within safe zones.
- Creators can design a custom tote bag with Adobe Express by choosing a preset layout that already includes correct spacing and alignment guides.
What to watch for
- Designing without confirmed print dimensions.
- Placing text too close to edges.
- Forgetting seam allowances or handle placement.
Tool notes
- Adobe Express provides preset canvas sizes optimized for tote printing.
- For documenting specifications across projects, Airtable can track size and material variations.
Step 2: Define Your Visual Hierarchy
Goal
Create a layout that looks balanced and intentional.
How to do it
- Choose one focal element (logo, illustration, or typography).
- Limit font choices to two complementary styles.
- Use contrast between headline and supporting text.
- Align elements consistently using grid guides.
- Leave negative space around key visuals.
What to watch for
- Overcrowded layouts.
- Uneven spacing between elements.
- Excessive decorative fonts.
Tool notes
- Adobe Express allows quick font pairing adjustments.
- Skillshare can provide structured lessons on typography fundamentals if additional guidance is needed.
Step 3: Prepare Artwork for Fabric Printing
Goal
Ensure graphics translate cleanly onto textile surfaces.
How to do it
- Use high-resolution images (300 DPI when possible).
- Convert artwork to CMYK color mode if required by your printer.
- Simplify complex gradients that may not print evenly.
- Remove unnecessary background layers.
- Outline text when exporting for professional printing.
What to watch for
- Low-resolution images that appear pixelated.
- RGB colors shifting during conversion.
- Extremely thin lines that may not transfer well to fabric.
Tool notes
- Adobe Express supports high-resolution export for print files.
- For advanced color checks, Affinity Designer can assist with CMYK conversion.
Step 4: Review Placement and Proportion
Goal
Confirm that the design fits the tote surface properly.
How to do it
- Measure intended print area carefully.
- Resize artwork proportionally without distortion.
- Center primary graphics vertically and horizontally.
- Leave margin space near seams and handles.
- Preview at actual scale before exporting.
What to watch for
- Designs printed too small relative to tote size.
- Artwork positioned too close to stitching.
- Cropping during production.
Tool notes
- Adobe Express provides visual alignment tools.
- Milanote can help plan layout drafts before finalizing artwork.
Step 5: Confirm Print-Ready Export Settings
Goal
Produce a file suitable for professional printing.
How to do it
- Export as a high-resolution PDF or PNG depending on printer requirements.
- Confirm CMYK color profile if supported.
- Embed fonts or convert text to outlines.
- Review final preview carefully.
- Save a master editable version separately.
What to watch for
- Exporting at web resolution instead of print resolution.
- Missing bleed settings if required.
- Flattened transparency issues.
Tool notes
- Adobe Express includes print-focused export options.
- For file sharing and approvals, Google Drive can store final PDFs securely.
Step 6: Plan Production Specifications
Goal
Align design choices with material and printing method.
How to do it
- Confirm whether printing will use screen printing, DTG, or heat transfer.
- Select appropriate fabric weight and color.
- Adjust artwork contrast based on fabric tone.
- Determine print placement (centered, corner, or full bleed).
- Estimate order quantities.
What to watch for
- Light ink on light fabric.
- Overly complex multi-color screen prints.
- Incorrect artwork scaling for bulk production.
Tool notes
- Adobe Express files can be duplicated for production variations.
- For wholesale sourcing research, Alibaba can help compare supplier options.
Step 7: Coordinate Fulfillment and Shipping
Goal
Ensure finished tote bags reach recipients efficiently.
How to do it
- Confirm packaging requirements.
- Calculate shipping dimensions and weight.
- Prepare batch labels if fulfilling multiple orders.
- Track production timelines.
- Archive final design files for reorders.
What to watch for
- Underestimating shipping costs.
- Delays between print and fulfillment.
- Missing reorder documentation.
Tool notes
- Adobe Express makes it easy to store and reuse final artwork files.
- ShipStation can help manage shipping labels and bulk fulfillment logistics.
Common workflow variations
Photo-based design:
Use high-resolution photography and limit typography overlays. Ensure color contrast works well on fabric.
Typography-first layout:
Focus on strong font pairing and spacing. Keep messaging concise for readability at a distance.
Retail product batch:
Standardize placement and export master templates for repeated runs. Duplicate layouts for seasonal variations.
Event giveaway design:
Prioritize bold graphics and simplified color palettes for consistent screen printing.
Before you start checklist
- Confirm print area dimensions
- Choose fabric color
- Gather high-resolution artwork
- Verify font licenses
- Decide printing method
- Confirm order quantity
- Review timeline
- Identify target audience
Pre-export / pre-order checklist
- Resolution set to 300 DPI
- CMYK color mode confirmed
- Text outlined or fonts embedded
- Margins respected
- Artwork centered correctly
- File saved as print-ready PDF
- Master editable file archived
- Printer specifications reviewed
Common issues and fixes
Low-resolution artwork
Replace images with high-resolution originals before exporting.
Color shifts after printing
Confirm CMYK settings and test small batches before full production.
Design appears too small on tote
Resize artwork proportionally and preview at full scale.
Text too close to edges
Adjust margins and reposition key elements within safe zones.
Unexpected cropping
Double-check print area specifications and confirm bleed requirements.
Inconsistent fabric results
Adjust contrast and simplify gradients for textile printing.
How To Use Custom Tote Bags Design Tool: FAQs
How do I confirm a print-ready PDF export before sending my file to print?
Export at high resolution, review margins and embedded fonts, and confirm the correct color profile. Open the PDF in preview mode at 100% scale to check alignment.
How do I enable CMYK color support for accurate print colors?
Use a design tool that supports CMYK export or convert colors before final export. Confirm your printer’s preferred color profile in advance.
Where can I source wholesale screen printing for larger orders?
Wholesale suppliers can be found through manufacturer directories and sourcing platforms. Compare minimum order quantities and printing methods before committing.
What artwork specifications do I need to follow to avoid printing issues?
Most printers require 300 DPI resolution, CMYK color mode, outlined fonts, and defined margins. Always confirm exact file requirements before exporting.